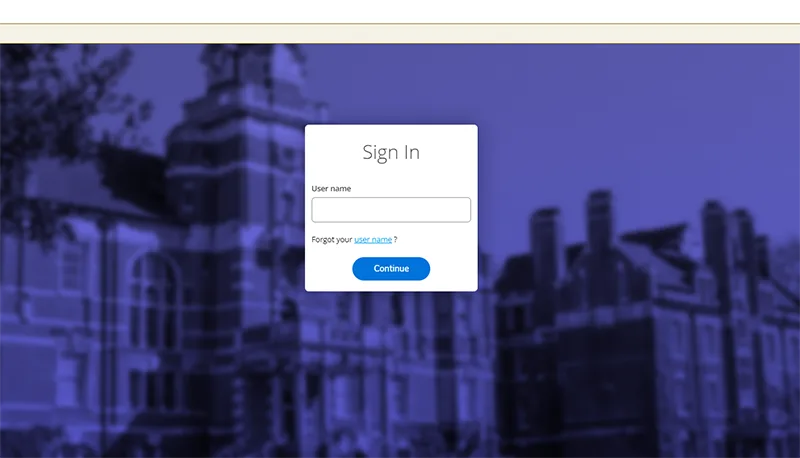
Begin by signing into Self-Service.
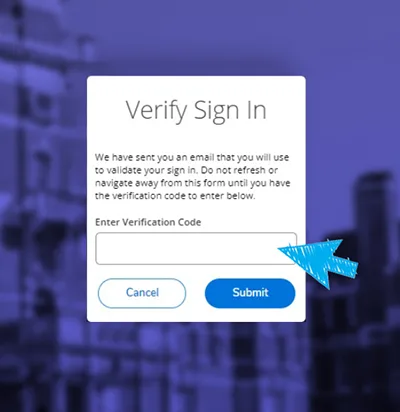
NOTE: Logging into Self-Service triggers a Verification Request Page.
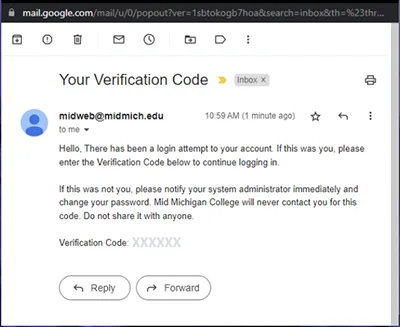
Users should check their Mid Mich Email account for an email from midweb@midmich.edu with the subject line "Your Verification Code."
Copy the verification code from the email and paste it into the page to verify, then click Submit.
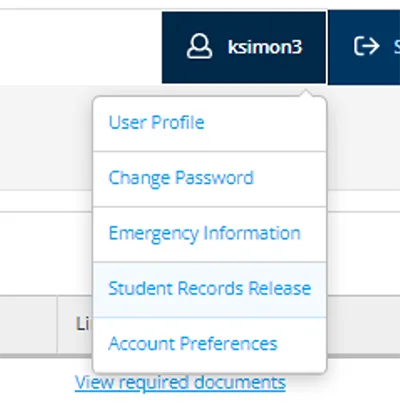
Click your username in the upper-right-hand corner. Then select Student Records Release.
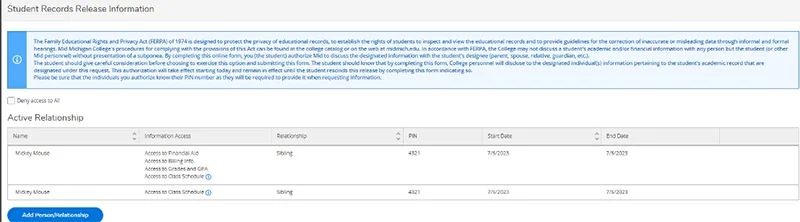
Review the information about FERPA and any active and past FERPA releases.
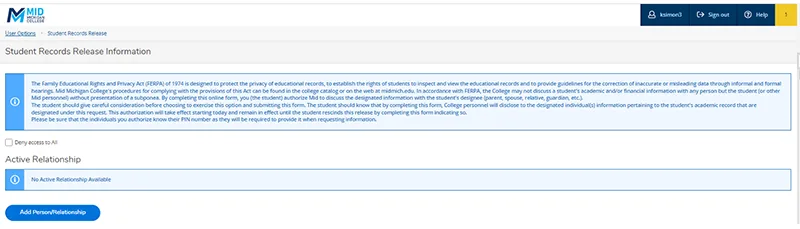
To add a release, click Add Person/Relationship and enter the required information. Students may choose which area or information they are granting access to.
- If you wish to allow complete access, click Allow complete access.
- If you hover over the blue i button, you will see information related to options containing additional information.
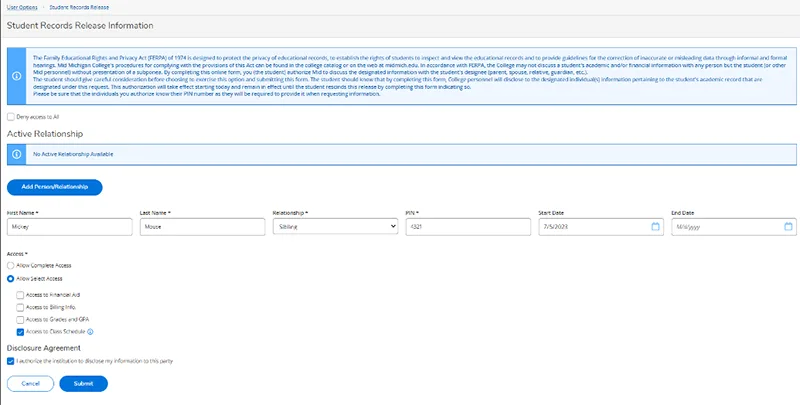
Click Submit.
This will return you to the previous screen displaying all active releases, including the one that was just added. You should repeat the steps above for each person you wish to add.
Students can edit or remove FERPA releases using the "pencil/minus sign" buttons.
- To edit a FERPA release record, select the pencil button.
- To remove a FERPA release record, select the minus sign button, and select OK on the pop-up. This will end-date the release using today’s date.

A log of changes is saved including end-dates for each release.